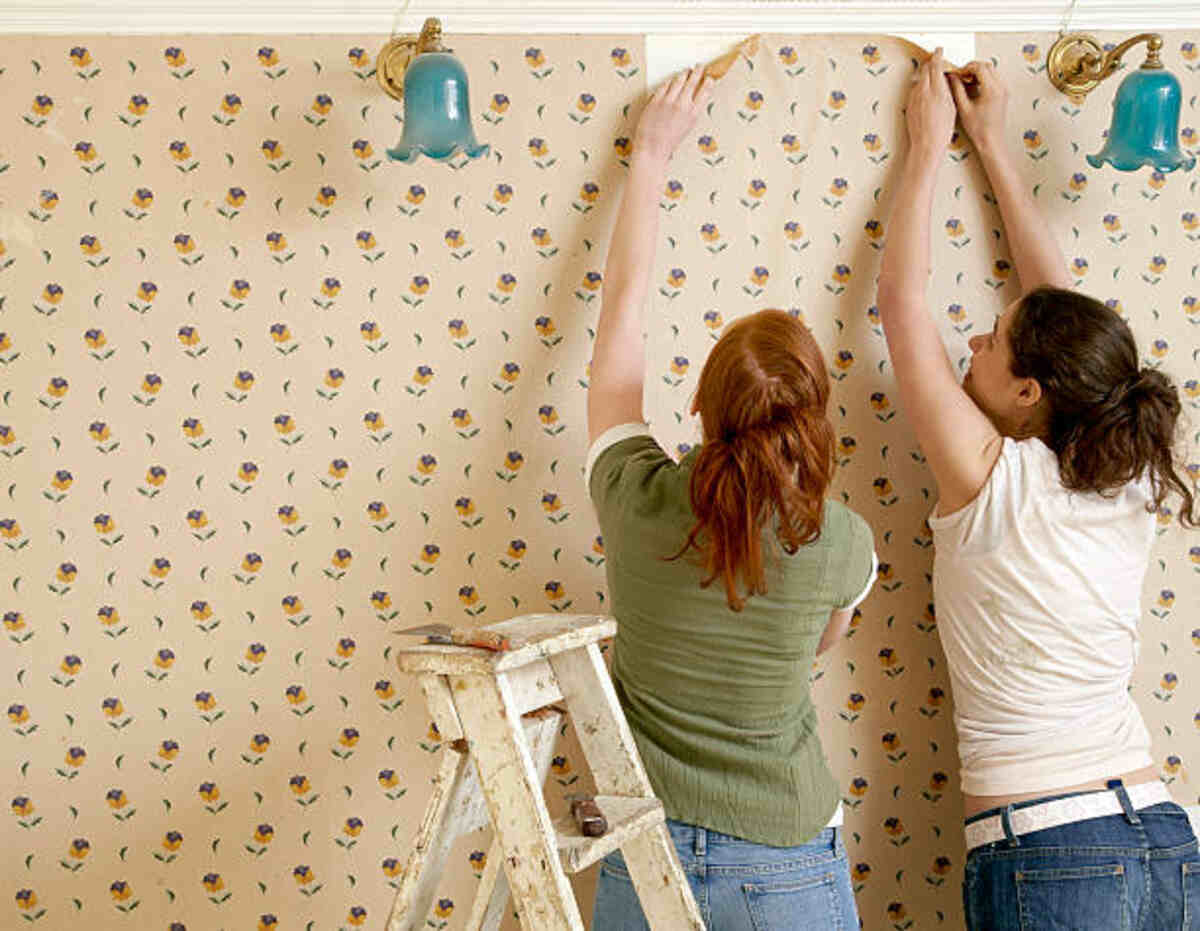
TAPE AND SNAG REMOVING
It may only take fifteen minutes of grabbing loose edges and pulling wallpaper down to the wall. It may seem impossible at times. The type of paper, how long it has been on the wall, and how the wall was prepped before installation are the only factors that affect how well the wallpaper holds up. So, it’s best to do some tests and weigh your choices before deleting them.
EXPERIMENT
You should try to gauge how simple the paper’s removal will be before proceeding. Did you “size” the walls before applying the paper? You can get sizing, a priming product designed to prepare walls for wallpaper, wherever you buy wallpaper. If so, you shouldn’t have any trouble removing the paper. It is tough, if not impossible, to remove paper from sheetrock without causing damage. If the wallpaper has been there since the house was built, this is likely since builders frequently do this to save time and money.
Try gently pulling at a torn corner of the paper. How thick is this piece of paper? How long does it take for the fragment to break off, and does it drag further paper with it? You’ll have an easier time of it if the paper is thick and pulls away from the wall without much effort.
THINKING ABOUT YOUR CHOICES
If the paper’s edges, corners, and seams don’t look like they want to budge, you may want to leave it where it is and apply new paper on top. If you want to paint, spackle the seams lightly and then apply a primer layer. While a DIY approach is possible, you may be happier with the results if you hire a pro.
Related Posts
SUPPORTS REQUIRED FOR PAGE DISPOSAL
If you choose to remove the paper, you’ll need a garden-style pump sprayer, a bottle of DIF, and a 5-inch spackling tool, all of which can be found at your local Home Depot, Lowe’s, or True Value. All of these items can be found in the store’s wallpaper aisle.
Follow the instructions on the pump sprayer and combine the DIF with warm water. Spray down the wall from the top, ensuring to get in between the seams. The DIF will permeate these spots and slacken the paper there. Ten minutes of DIF rest time is recommended. When removing wallpaper, start at a corner or seam and scrape and pull to loosen it, being cautious not to work too quickly or dig too deeply and damage the sheetrock. If the walls haven’t been sealed properly and the paper is tightly attached, it can be pulled off together with the sheetrock surface. It’s not hard to remedy, but it does add time and effort to your job because the spackling repair is necessary before re-papering or painting.
Just rely on the DIF to handle everything. Before beginning to work on a particular area, spray the area in advance so that the spray can begin loosening the area while you are already working hard. Respray it and let it sit for another 10 to 15 minutes if it is not coming off readily.
You’ll develop an intuition for what’s most effective as you work. If you soak the paper long enough, you can notice that it peels off in sheets.
After the wallpaper is stripped off, the walls must be prepared for fresh drywall or paint. At this point, one can run into a wide range of situations. Glue is used in varying forms and concentrations by wallpaper makers. Some of it is incredibly watery and won’t cause any issues, while others are rather thick and will leave a noticeable film behind. It’s not as much of a deal if you’re wallpapering as if you were painting. However, if there is still a significant amount of adhesive on the wall, you should scrape it off and wash the walls off with water or a mixture of water and DIF.
Preparing the walls for painting is more crucial after wallpaper removal. It will be necessary to remove all traces of glue from the walls. Spidery cracks will appear in the freshly painted region if the glue is still on the wall after painting. After the walls have been washed down, they must be sanded down to bare wood, and any damage must be fixed for the most outstanding results when painting; a primer coat, such as KILZ, should be applied beforehand.
Always remember to paint your walls with “sizing” before applying wallpaper. The subsequent installation and removal will be less of a hassle.